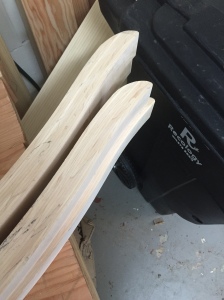
Unfortunately the only woodworking that happened over the weekend was my least favorite task, sanding. I managed to finish shaping the ends of the rockers and made sure each matching pair are the same size and shape but since none of this is very exciting, I decided to add some filler in the form of the work that has gone into these rockers over the past year and catch up to the work I did Monday night.
The rockers are a bent lamination made from 10 strips of hard maple, each approximately 1/8th of an inch thick. I started with two pieces of maple (from the same board) milled to the appropriate length and width and then sliced off the stripes on the table saw at TechShop SF, moving the fence 1/8th of an inch after each pair of cuts. I ended up with around 50 strips and then matched them for thickness to end up with 4 stacks of 10 strips that were around the same thickness. My one regret in the process was not keeping the slices in their original order which would have improved the uniformity of the side grain in the final pieces.
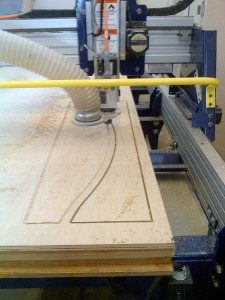
Now here is where things move as far from hand tools as you can possibly imagine; the lamination forms were cut using a ShopBot computer controlled router. My first attempt at shaping the curve in plywood by hand left much to be desired so I decided to take the precision route and draw the profile on the computer which then made three precision copied of each piece. I then three of each piece together and trim routed/sanded them into the final shape.
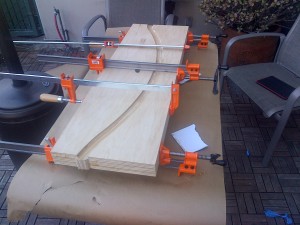
This was my first bent lamination project so I began researching obsessively about the type of glue to use but in the end I used TiteBond III and let each piece cure in the form for 24 hours (I did experience a bit of “spring back” when I removed the rockers from the form so if there ever is a next time I would leave them in the form for several days). Unfortunately, since we were still in the condo at the time the glue-ups happened on our back patio under a tarp so they were exposed to the temperature swings and fog we get here in San Francisco.
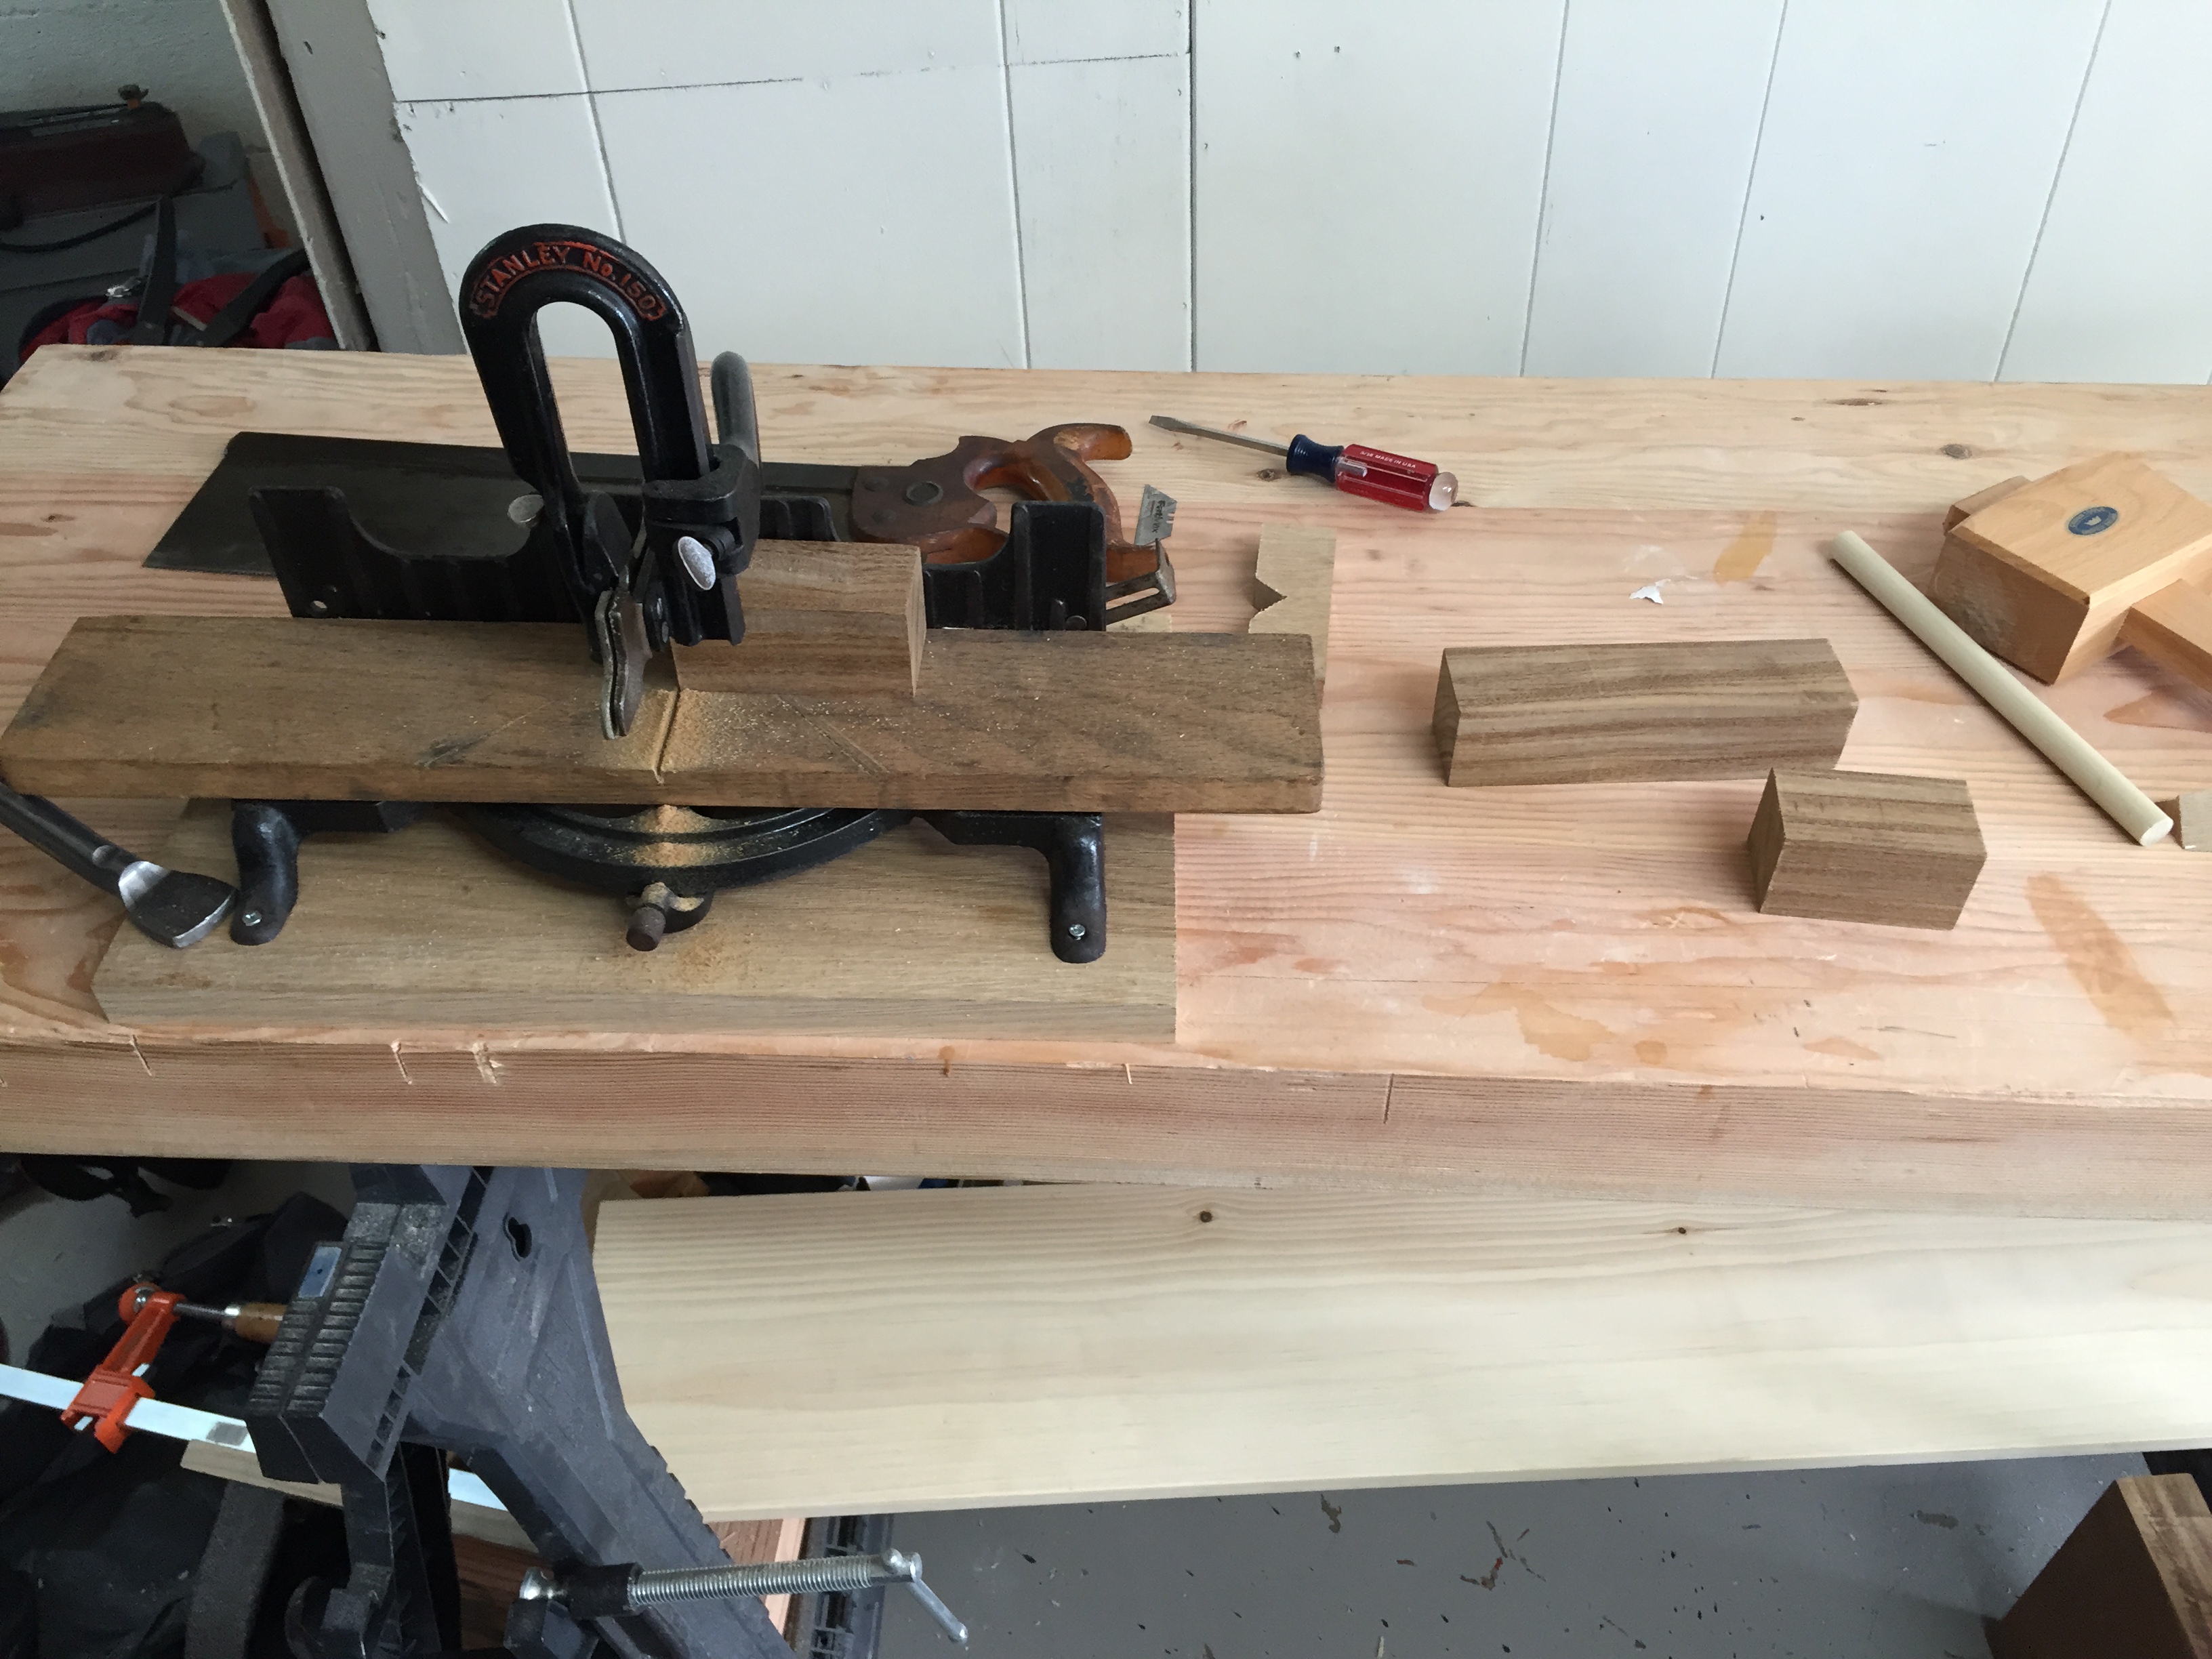
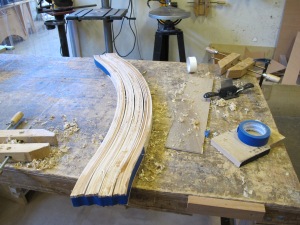
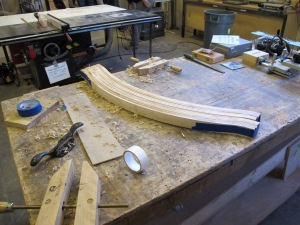
Here are the end results just prior to running through the planner (TechShop does not allow glue-ups on the jointer so I used carpet tape and blue tape to run them through together on the first couple of passes). I used my Stanley #80 cabinet scraper to remove the glue squeeze-out and square up the boards a bit before planning.
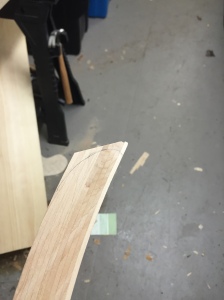
This catches us up to this past weekend which was spent shaping and sanding the rockers to their final sizes. The rockers are not symmetrical from to back, the front end has a higher slope and rounds over a bit so the final shaping on each end is different. After drawing a target plan and trimming it was time to use my new Rigid Oscillating Spindle Sander (this was bought just for this project and I love it, this will be one of the few power tools that survive the hand-tool swap) which made short work of the curves.

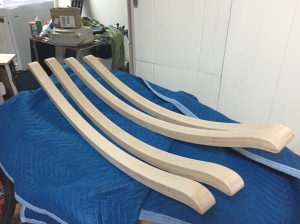
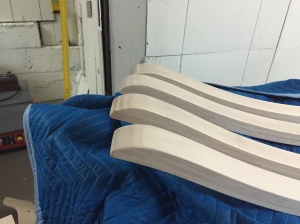
Several comparisons, tracings, and additional trips to the sander resulted in two matching pairs of rockers.
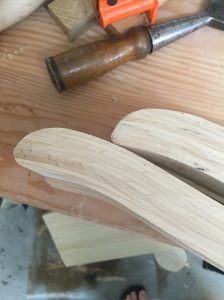
Match still needs a bit of work There we go.
After several hours with the random orbit sander (I used 80 grit to remove mill marks and glue) and a trip to the router table at TechShop (I am going to miss having a membership) I have four rockers that are starting to look pretty good. Final sanding to 220 grit will come after the rest of the layout and construction work has been completed.
This post is getting a bit long so my Monday night layout work will end up in its own post.