The backyard project is entering the final stages as I started installing irrigation this weekend. The main supply line needed to be run under our existing deck in order to reach the yard so I pulled up the Trex and spent the day contorting myself among spiders and dirt.
The pipes needed some support blocks installed along the wall on the left and luckily I had just the right tool: a powder nailer. For those of you who aren’t familiar with these tools they use blank ammunition to fire nails into concrete. Mine uses .22 caliber.
I attached a few blocks of leftover pressure treated lumber and screwed the pipe in place. Nothing like the smell of gunpowder during construction.
Unfortunately I’m traveling for work this week so progress will be slow but the end is in sight.
After a week at the Jersey Shore (south jersey so no Snookie – I hate the fact I know that reference) I tried to get caught up on the planter but between jet lag and what appears to be bug I’ve picked up progress in as slow. Working with heavy timbers wears you out so test fitting joints is tough. I have even more respect for timber framers.
Unfortunately, my circular saw blade is not large enough to cut all the way through so each cut requires followup hand work. This is made even worse by the interlocking grain and curly figure in the wood so I can’t pop out large chucks with my large chisel.
Making matters even worse, my foot long 1/4″ drill bit snapped about half way through so the last screws had to be driven in without pilot holes. Luckily I started adding paraffin wax so I only snapped one screw.
The goal was to get one tier installed so I could finish leveling the yard (this tier will be partially buried). Since I have no idea when I will be installing the next two levels, I went ahead and applied deck stain to these to protect them from UV exposure. I went with DEFY Extreme water based wood stain in color Cedar which is supposed to be the best deck stain that is legal in California. Overall I like the color though it does muddy up the grain (something all semi transparent deck stains would do). I will say the timber that spent the week outside getting wet and dirty looks the best so maybe the other boards will darken as they age.
I had trouble finding a sample online for how the DEFY Extreme Cedar would look on Eucalyptus (eucalyptus globulus aka Tanzanian Blue Gum) so hopefully if anyone else out there is curious this will help them out.
My backyard project sometimes seems more like an archeological dig as 100 year old garbage keeps showing up. In additional to the usual broken pottery, animal bones and rusted cans a few interesting items have appeared such as a this small firemans helmet made from lead.
I also found this lump of rust next to an intact milk bottle and a set of nylon stockings (no idea if they were buried together). Somthing about its shape caused me to pull out of the pile and drop it in my electrolysis machine.
If you have any guesses this then in the comments and I’ll post what ends up coming out (my guess is a door knocker).
I actually made some progress on the bench as well since SWMBO suggested that I take a small break from the back yard and work on the bench. All the top rail mortice and tenons are complete and I have trimmed the top end of the leg based on the mortices.
I then started on the bottom rails and given the dimensions I have decided to use a double tenons to attach them to the legs, which will be a first for me.
My dry spell of wood working continued for the long weekend but extensive progress has been made in the back yard. for the past several weeks, every day after work involved digging up dirt and removing concrete so Friday I took the day off and had a disposal company come buy to remove the sand and concrete. Sounds easy enough but how to get three cubic yards of dirt (probably weighing 3-4 tons) and pile of broken concrete out to the front for pickup?
The answer is buckets, a hired day laborer, and a sonotube (aint city living grand).
The weekend hasn’t even started and I’m already tired.
Saturday I was already sore but luckily by buddy Andy came over in the morning to help before his flight (something about manual labor appeals my St. Louis friends).
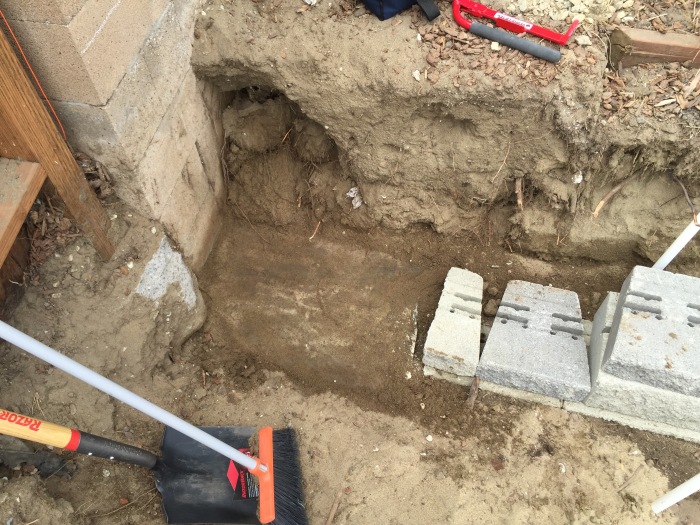
Digging the base trenchCompacting the gravel base.First course in.Oh look, buried treasure. That two foot wide concrete footing somehow escaped notice in my test digging.
Sunday was spent adding more tiers of blocks and adding gravel back fill. Monday I added the last course of stones and back filled with soil over the drainage. This wall only fixes a little over half of my slope problem (the fence gives a good idea of how bad the slope is) and phase 2 is a second wall at the base of the yard. Overall, I have 5 feet of drop over a 25 foot run (San Francisco is known for its hills). I’m going to do some yard clean up tonight after work and then give my body a couple of days (I hurt everywhere) to recover before I start digging the footings for the second wall.
Cap stones will wait until later.
Overall I like the look of the VersaLok system and it’s very homeowner friendly (though the large block weigh over 80 lbs). The weathered mosaic blocks do a nice job looking like a stone wall and I think as it ages it will look even better.


