Only three weeks behind schedule, it was a very productive weekend. I took Friday and Monday off to install irrigation and sod and of course it was the hottest weekend of the year with temps in the upper 80s and low 90s.
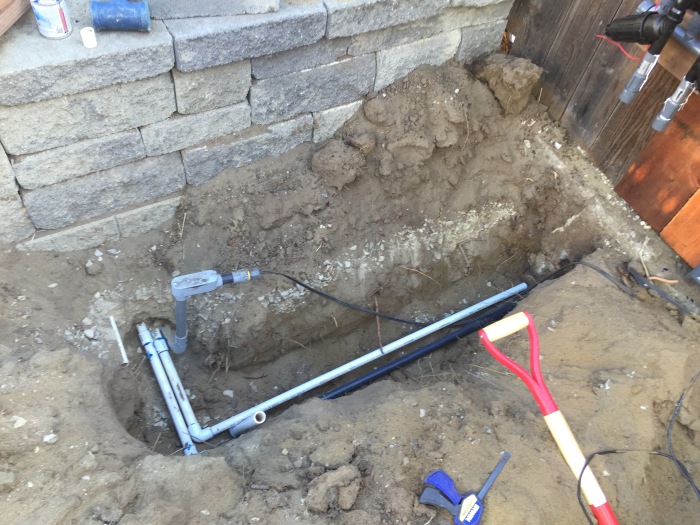
Friday was spent setting up the valve assembly and hooking up the supply lines.

The rest of the day was layout and building the supply header out of PVC. I had performed a soil test by shaking soil and water in a jar and letting it settle. The results were as expected, I have sandy soil which resulted in 12 inch spacing.
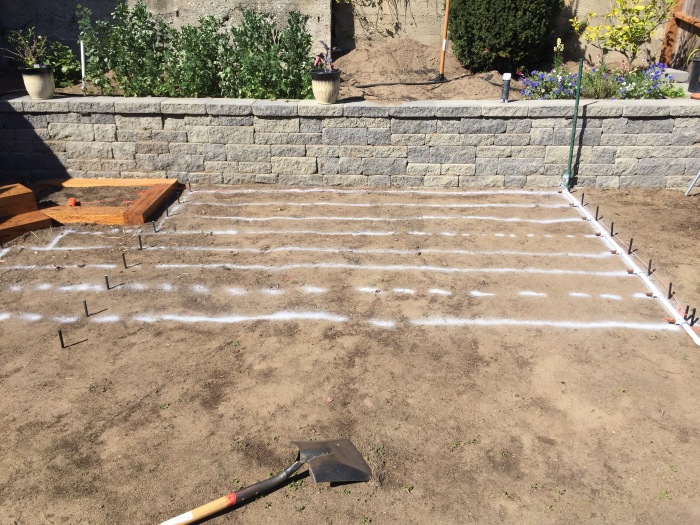
I assembled the hoses above ground: 1/2 inch Netafin drip line with 12 inch emitter spacing. The runs are connected using drop line rather than a pvc footer and there is a purge valve at the bottom (no air vent).


Saturday after my sons Swiming class it was time to bury the lines. The header lines were buried first and hooked up to the supply. I used the pointed end of a pick/mattock to drag each line and then followed up with a piece of oak withe a 1 inch wide and three inch long end (basically I plowed a field using 5 thousand year old tech). Each row of hose was then position by hand and held down with galvanized staples. Because the soil is so sandy I had to clear the tench by hand so I spent the afternoon on my hands and knees hunched over.
Sunday I hooked up the two parts of the assembly, installed the purge valve/valve container and purged the system. The next few hours were spent alternating between tamping down soil and installing the irrigation controller/drip irrigation. This allowed my already exhausted body to rest periodically. I installed the SkyDrop controller and installed the iPhone app (which made purging and pressure testing much easier), installed lawn edging on on side, and hooked up the fava beans and potted plants to drip irrigation.

Finally it was time to test the coverage. You will note that the soak pattern is very inconsistent. Basically the soil in the middle is less sandy than on the edges (that part is basically original yard soil) so that area ends up saturated. In hind sight, I should have increased the spacing in the middle but live and learn. I did discover that one second of hose had been installed with the emitter on the bottom so I dug it up and rotated it. I also supplemented some of the really sandy areas with organic potting soil that had been intended for the planter boxes.
At the end of the day it looked like very little had been done though the yard was flatter than before. The yard got a multi hour soak from a sprinkler before nightfall.
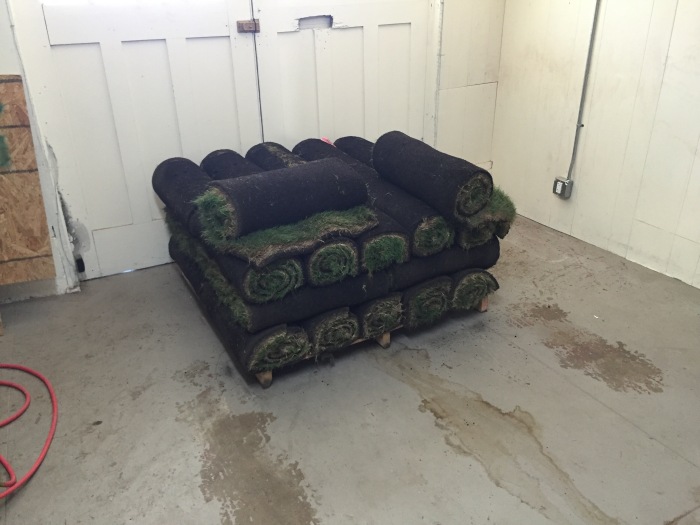
Sod delivary was sheduled for noon on Monday so the morning was spent filling in any low spots that developed during the watering and picking up any uncovered stones. The sod ended up getting delivered at 11:30 and they were able to slide it into the garage so we wolfed down a quick lunch and got to work.

Each section of ground was first scored with a rake and the soaked with a hose right before the sod was unrolled. My dad (who just happened to be visiting) sat in the shade and manned the hose while I carried up each roll and wrestled them into place. I trimmed the sod using a folding hooked knife all had been laid within 2 hours. I then added som potting soil over the seems with gaps and soaked it.

We did not use a roller at the end, mostly because my wife took the outback to work so I had no way to get one from the rental store. For the next week the grass is going to be a eternal hog. Sub surface twice a day and a sprinkler three times a day. After this week we will start reducing the surface sprinkler. Once established, this grass will get irrigation once a week (max) but that is a while out.
Today (Tuesday) I’m off to D.C. for work so I have left my dad in charge of the surface sprinkler and the computer I charge of everything else so we will see how it looks on Saturday.


